-
How to Correctly Uninstall PCKeeper in Windows 7/8/10?
- Mar 05,2021
- Uninstall Utilities
-
Seeking solutions to uninstall PCKeeper from your PC? Then browse this page, you will find useful information to read.

There was once a period when a number of users used PCKeeper to maintain their systems. It claims to include an antivirus to check for malicious traits, so if you intend to use it, don’t install another antivirus to avoid conflicts. But if you have found it no longer useful to you and don’t know how to complete get rid of it, you can just follow our tutorials on this page and get it done.

How to Use Bloatware Uninstaller to Quickly Remove PCKeeper?
This applies to most of the popular Windows systems:
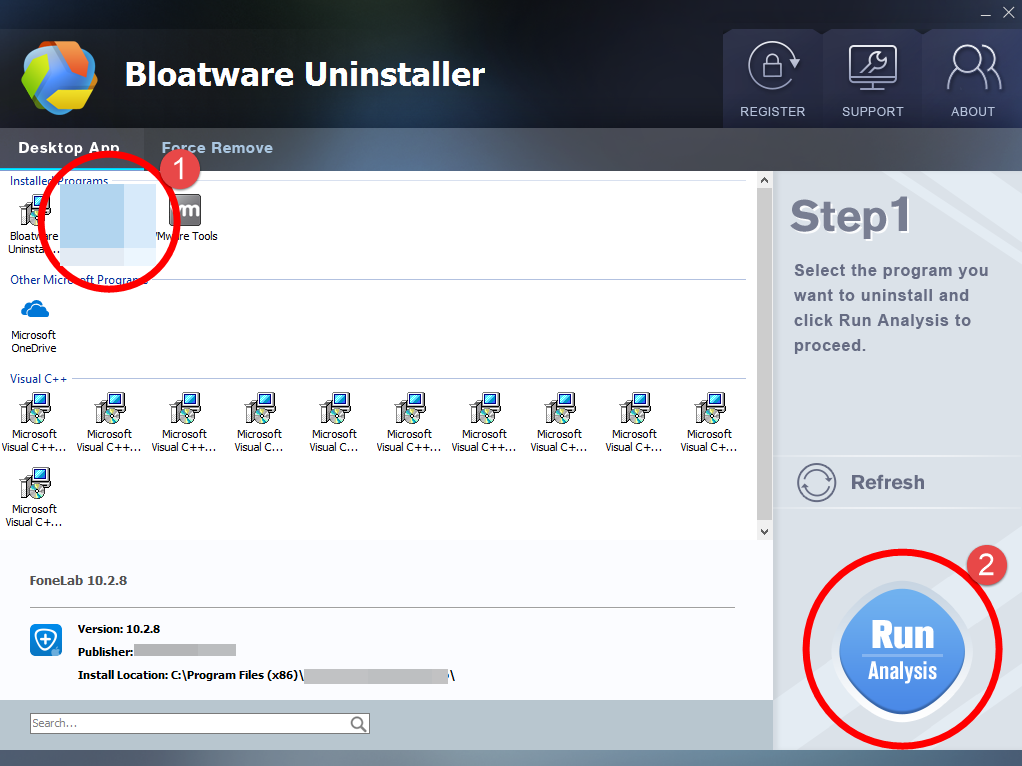
Step 1. Download, install and launch Bloatware Uninstaller from your desktop.
Step 2. Select PCKeeper in the list, and click Run Analysis in the lower right corner. It will take just a few seconds.
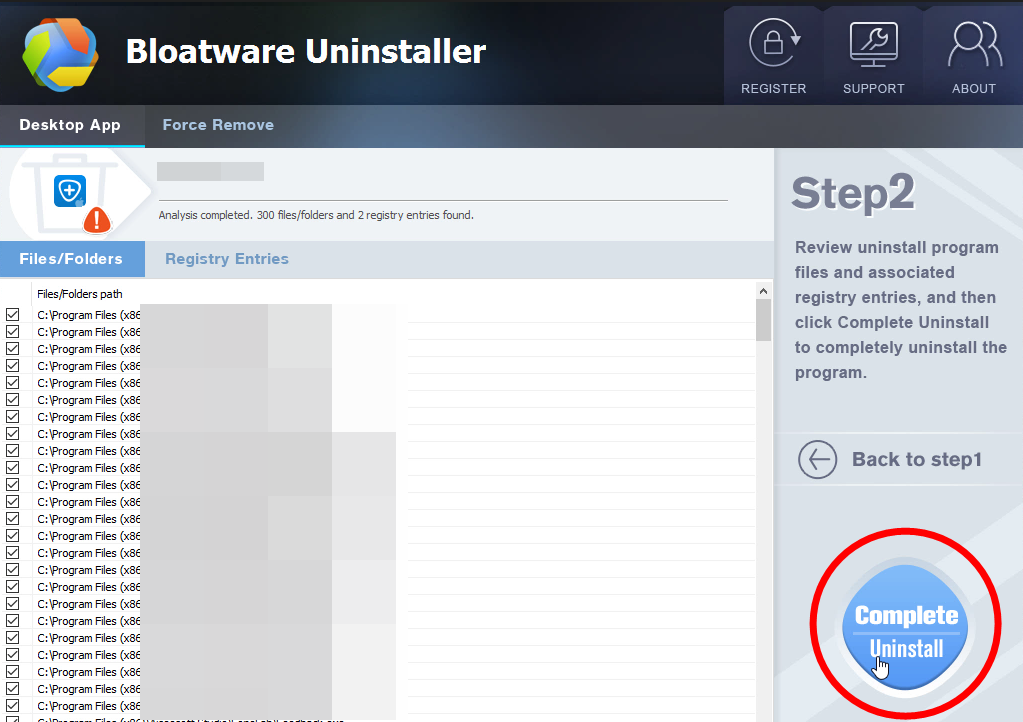
Step 3. Wait for it to finish scanning all the files that need to be delete, and click Complete Uninstall in the lower right corner to delete the files listed.
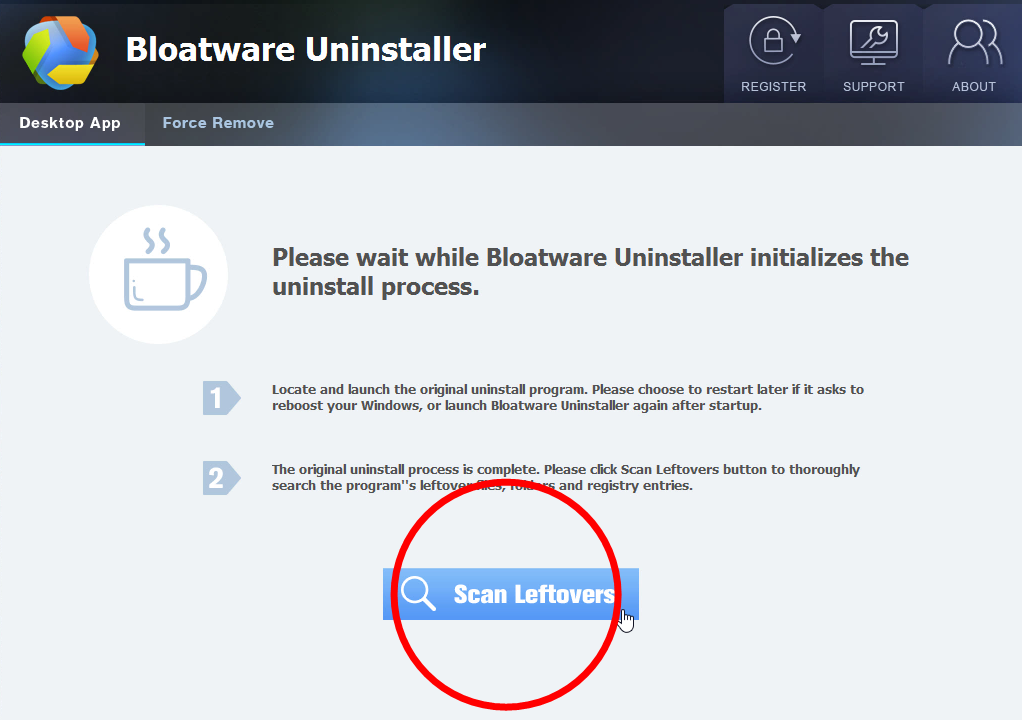
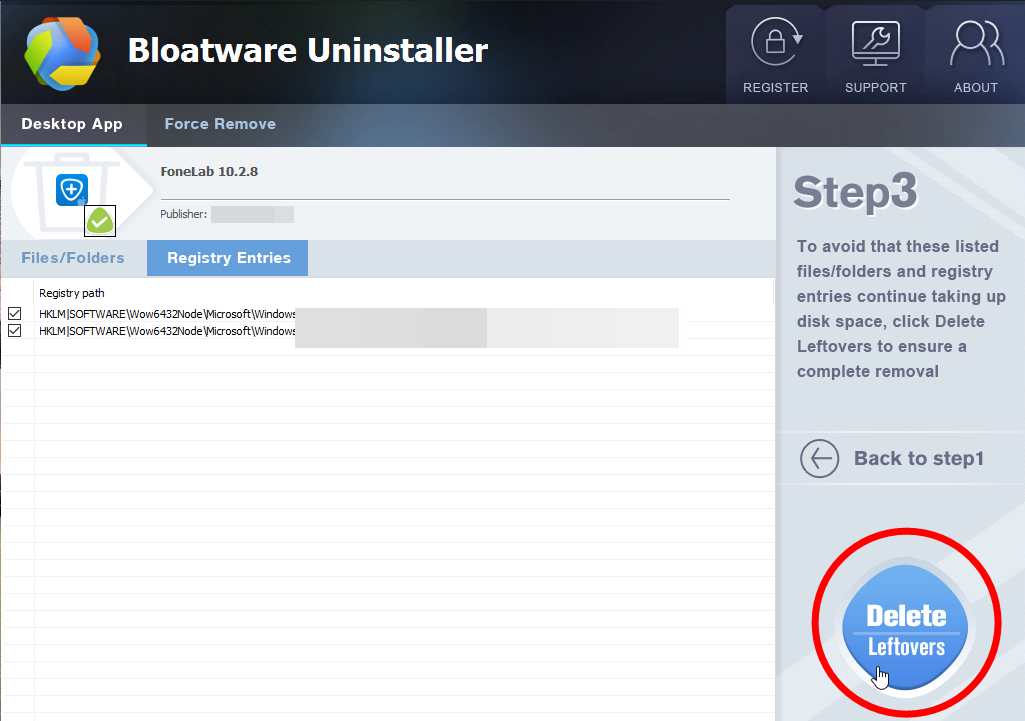
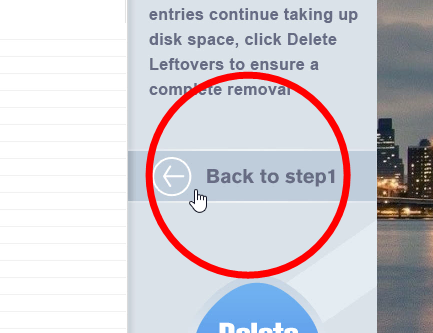
Step 4. Follow the prompts to move on, click Scan Leftovers to track down all those vestiges still hidden in the system, and click Delete Leftovers in the lower right corner to delete the leftovers listed.
Step 5. Click Back to step1 to check the currently installed programs, see if PCKeeper has been removed. For any question you don’t want to ask or problem you encounter, reach their customer service for immediate assistance.
If you would like to know the whole process before actually installing it, here is an example video:
Regular Steps to Uninstall PCKeeper in Windows
In cases some users are still using the older versions of Windows operating systems, so we have listed some steps separately.
1. Log in your system with an administrator account (in most of the case, the one you have been using), so that you will be able to go through all the steps, which are considered to be the actions of making changes in Windows. Otherwise you may need to provide the password when trying to uninstall PCKeeper.
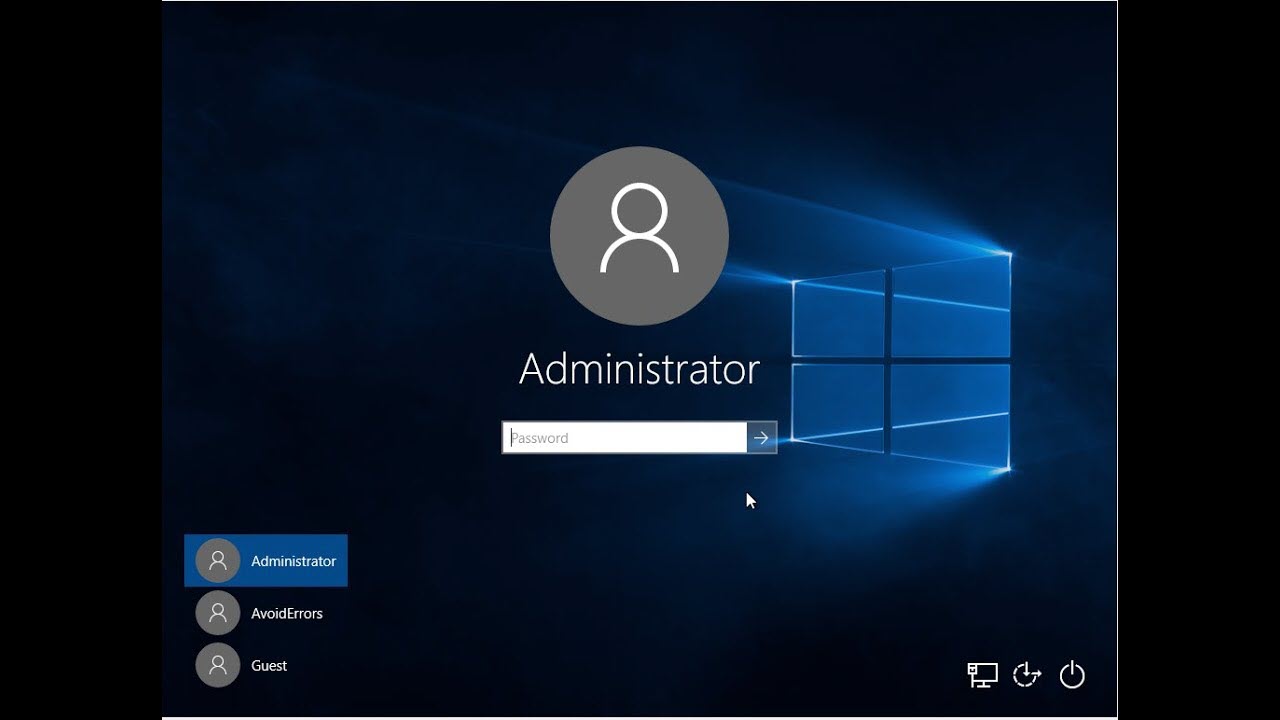
But if you are using the same account all the time, don’t bother to understand what I just said, and go to the next.
2. Quit PCKeeper if it is running, and end all the related processes in the background via Task Manager.
Press and hold Ctrl + Alt + Del on your keyboard to open Task Manager > Make sure the program isn’t running by checking the Applications tab, then go to the Processes tab, and end the related ones. They probably have similar names.
3. Uninstall PCKeeper through the Programs list.
This is actually to activate the program’s built-in uninstaller.
Windows 7: Click on Start button in the bottom left corner (or simply hit the Windows key on your keyboard), move your mouse pointer to the Control Panel and then click on it. > Select Uninstall a program under the Programs section. (If you’re a user of Windows XP, click on Add or Remove Programs.)
Windows 8: Right-click on Start button in the lower-left corner, and click on Control Panel > Select Uninstall a program under the Programs section.
Windows 10: Right-click on the Start button in the lower left corner, and select Programs and Features.
Follow the on-screen instructions to finish the process.
4. Delete the vestiges from Registry Editor to completely uninstall PCKeeper.
If you’ve never done this before, not even for once, I suggest backing up your Registry before continuing. More troubles would be brought if anything is deleted by mistake. And it’s way too complicated to explain how to restore the data. So, just be careful.
To open the Registry Editor:
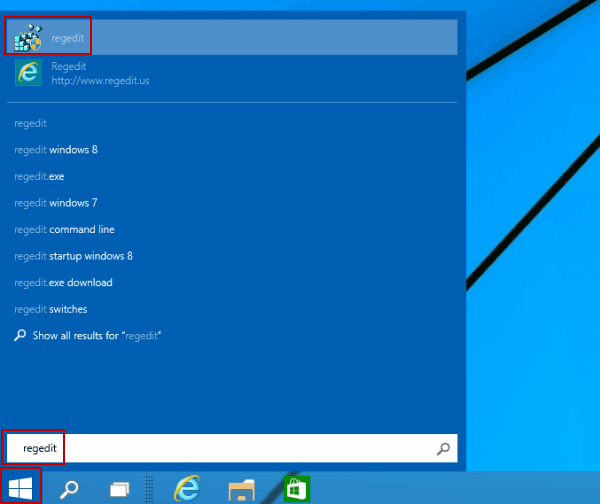
Windows 7: Click on Start button (or simply click the Windows key on your keyboard), type “regedit” in the box and press Enter key.
Windows 8: Just like how you opened Control Panel > Hover your mouse pointer to the bottom right corner until you see the charms bar pops up from the right side, type “regedit” in the search box, and hit the Enter key on your keyboard.
Windows 10: Executing “regedit” from any command-line area (just like how you do it on Windows 8).
Then the Registry Editor will be presented with a new window > On the navigator, click Edit, then Find… > Enter “PCKeeper” to search its leftovers > Once found, right-click or tab-and-hold it and select Delete > You’ll be asked to confirm the key or value deletion request, tap or click Yes to completely uninstall PCKeeper.
5. Restart your computer.
The kind of that benefits from a value or key removal is usually the kind of thing that requires a PC restart to take effect.
By now You have come a long way to uninstall PCKeeper. Personally they are pretty much the same thing in different versions of Windows. So when I switch between them, I won’t be confused. What is your opinion about this removal? Leave a comment to let us know. For other programs you wish to get rid of, search the name on our site and see if there is any useful information.
Categories
- Acer Software
- Anti-Spyware
- Antivirus Programs
- ASUS Software
- Browsers
- Business Software
- CD Burners
- Cloud Storage
- Communication Tools
- Compression Tools
- Desktop Customization
- Desktop Enhancements
- Developer Tools
- Digital Photo Software
- Driver
- Encryption Software
- Games
- HP Software
- Intel Software
- Interface Tool
- Internet Security Software Suites
- Internet Software
- Keyboard Drivers
- Lenovo Software
- MP3 & Audio Software
- Networking Software
- News
- Operating Systems & Updates
- Other Browser Add-ons & Plugins
- P2P & File-Sharing Software
- Productivity Software
- Security Software
- SEO Tools
- Text Editing Software
- Uncategorized
- Uninstall Backup Software
- Uninstall Download Software
- Uninstall e-book management software
- Uninstall FTP Software
- Uninstall Graphics Software
- Uninstall Monitoring Software
- Uninstall Office Suite Software
- Uninstall PDF Software
- Uninstall Player
- Uninstall Security Software
- Uninstall Utilities
- Utilities & Operating Systems
- Video Editing
- Video Players
- Video Software
- VNC Software
- Web Browsers
- Windows Tutorial
Archives
- June 2021
- April 2021
- March 2021
- February 2021
- January 2021
- December 2020
- November 2020
- October 2020
- September 2020
- August 2020
- July 2020
- June 2020
- May 2020
- April 2020
- March 2020
- February 2020
- January 2020
- December 2019
- November 2019
- August 2019
- July 2019
- June 2019
- May 2019
- April 2019
- March 2019
- February 2019
- January 2019
- December 2018
- November 2018
- October 2018
- September 2018
- August 2018
- July 2018
- June 2018
- May 2018
- April 2018
- March 2018
- February 2018
- January 2018
- December 2017
- November 2017
- October 2017
- September 2017
Comments
Leave a reply